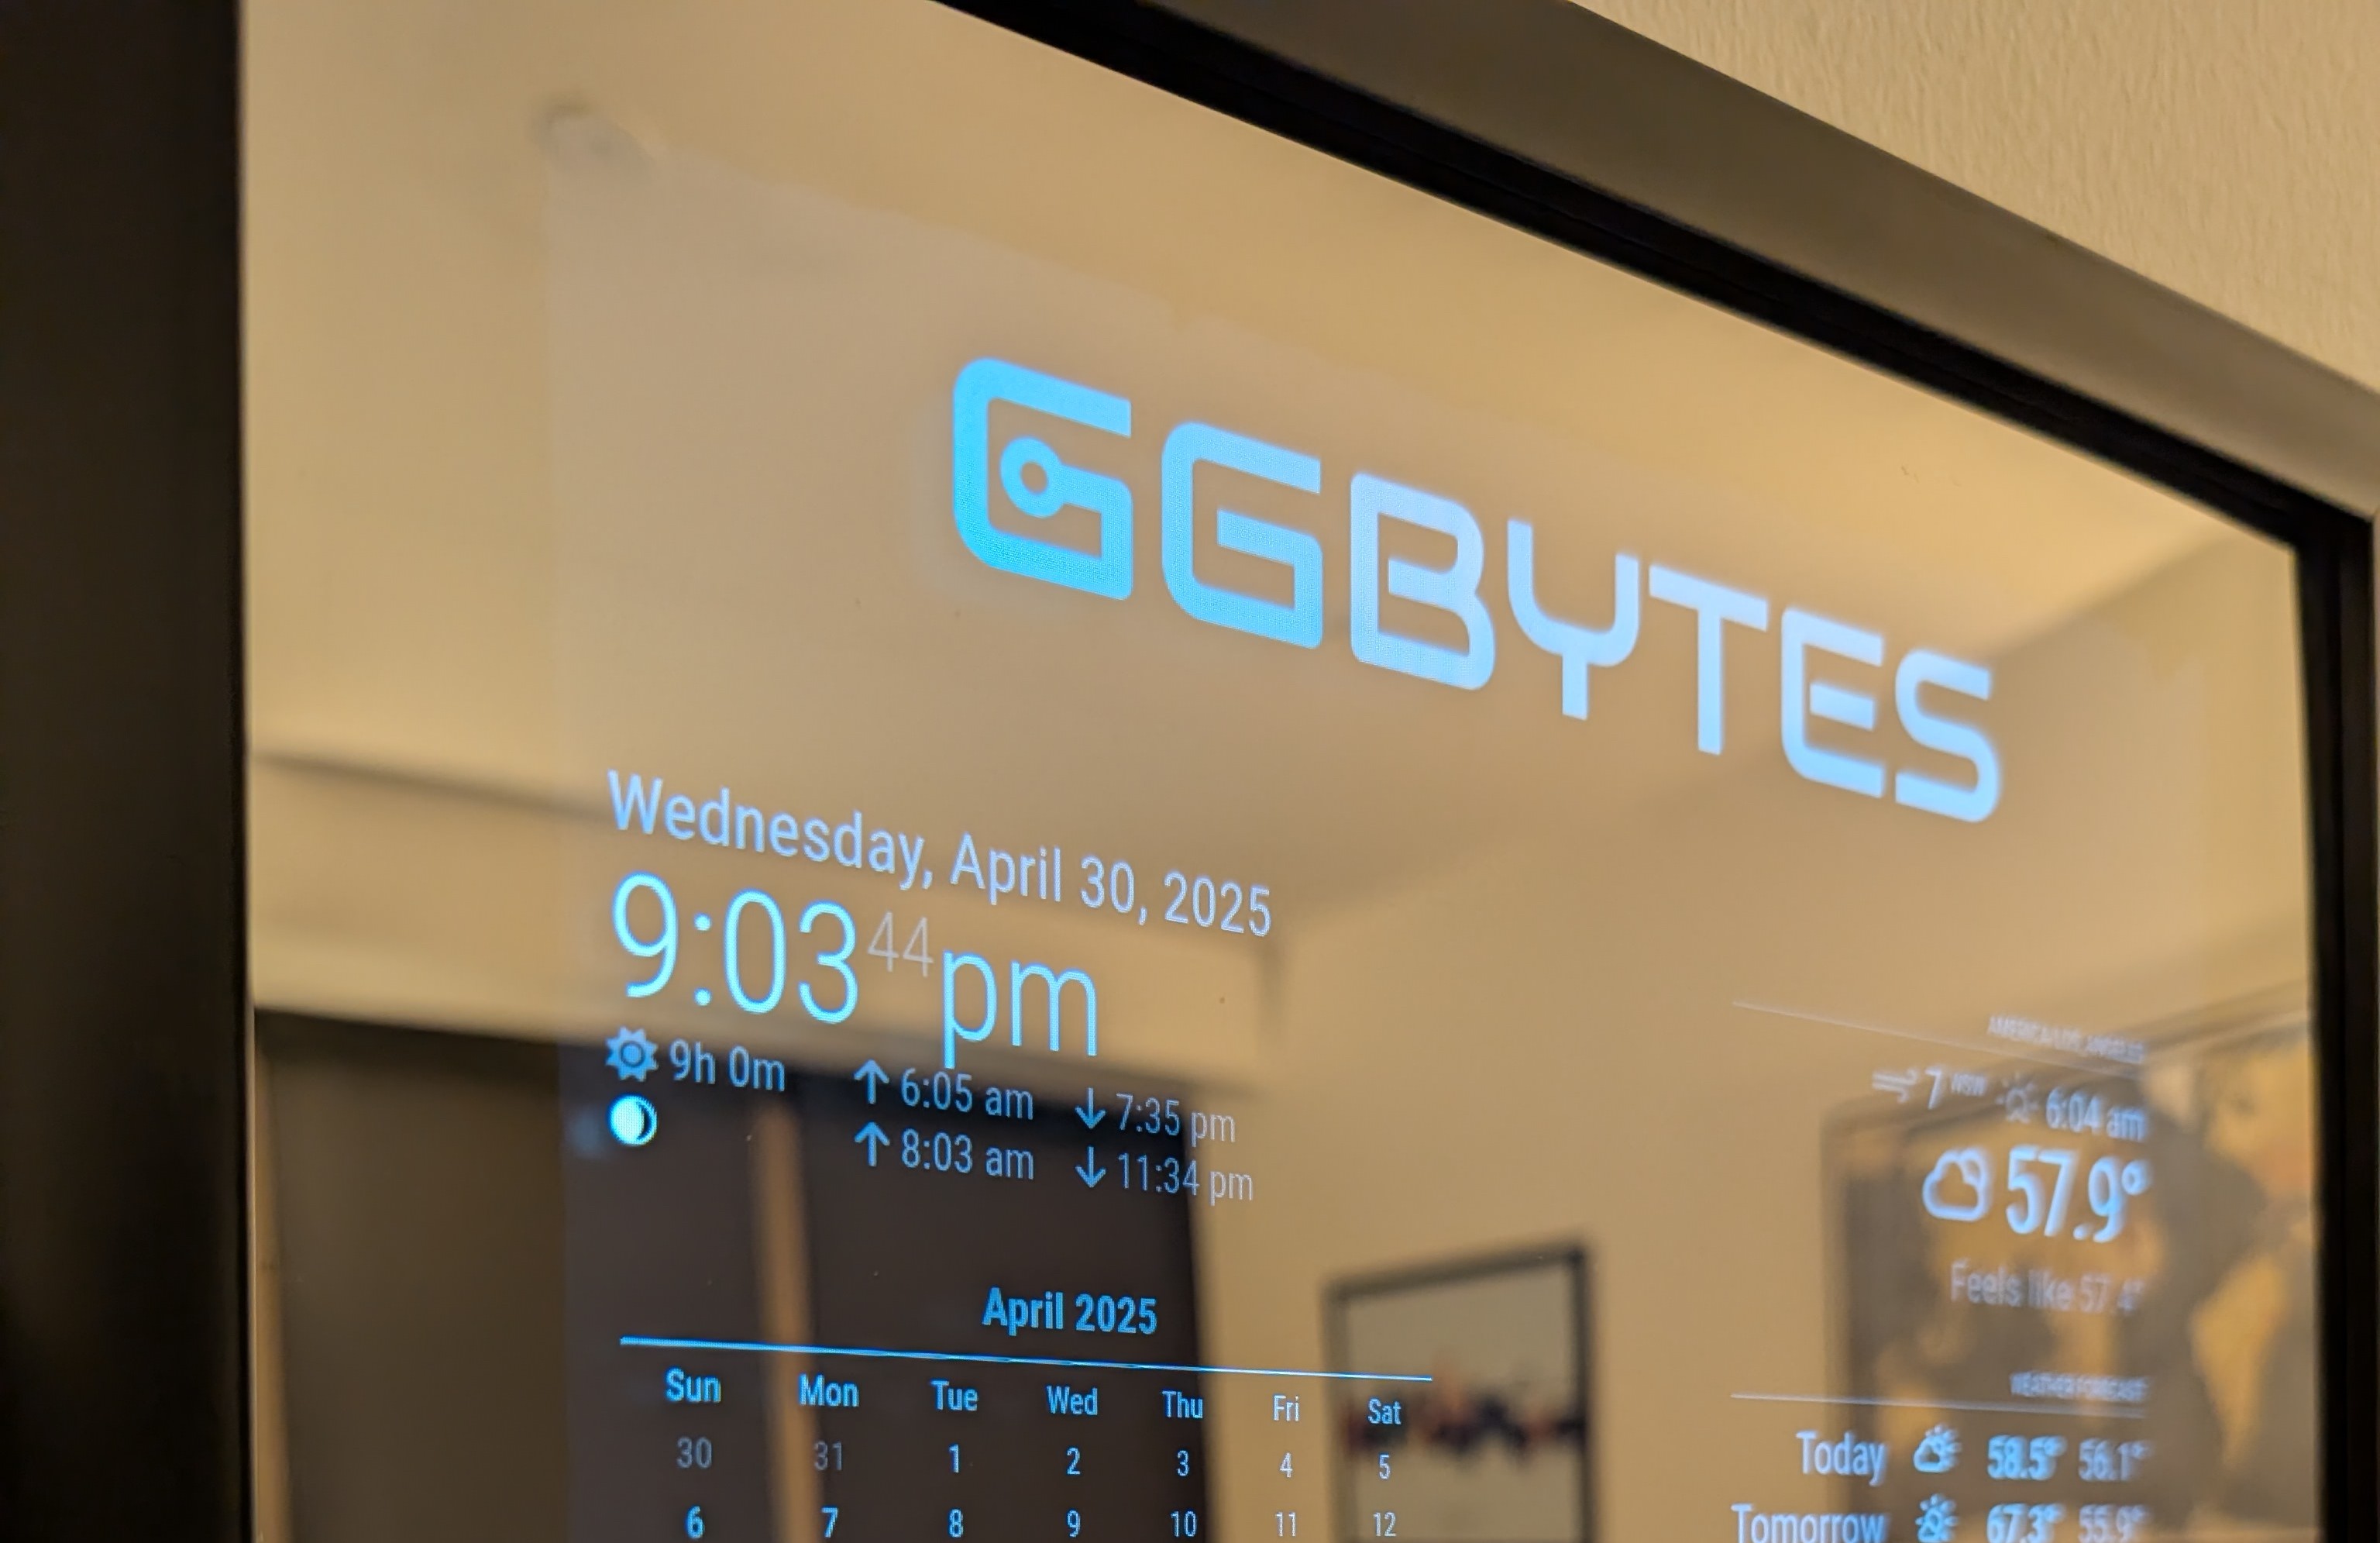
I recently built a smart mirror using a Raspberry Pi 4 and a two-way mirror. The project is uses MagicMirror² software, which provides a customizable interface for displaying information like time, weather, news.
Components
- MagicMirror² software
- Raspberry Pi 4 1GB
- Two-way Acrylic mirror
- 18.5” 1920x1080 Portable Monitor
- 11x17 Frame
- HDMI to Micro HDMI Cable
MagicMirror² Modules
Core Modules
Third-Party Modules
Steps to Build
- Install MagicMirror²: Follow the installation guide to set up the software on your Raspberry Pi.
- Configure Modules: Customize the modules you want to display, such as weather, calendar, and news. You can find a list of available modules here.
- Set Up the Hardware: Assemble the two-way mirror with the monitor and frame. Ensure the monitor is positioned behind the mirror for optimal visibility.
- Connect the Raspberry Pi: Connect the Raspberry Pi to the monitor and power it on. Make sure it boots into the MagicMirror² interface.
- Final Adjustments: Adjust the settings in the
config.jsfile to customize the appearance and functionality of your smart mirror.

The insides
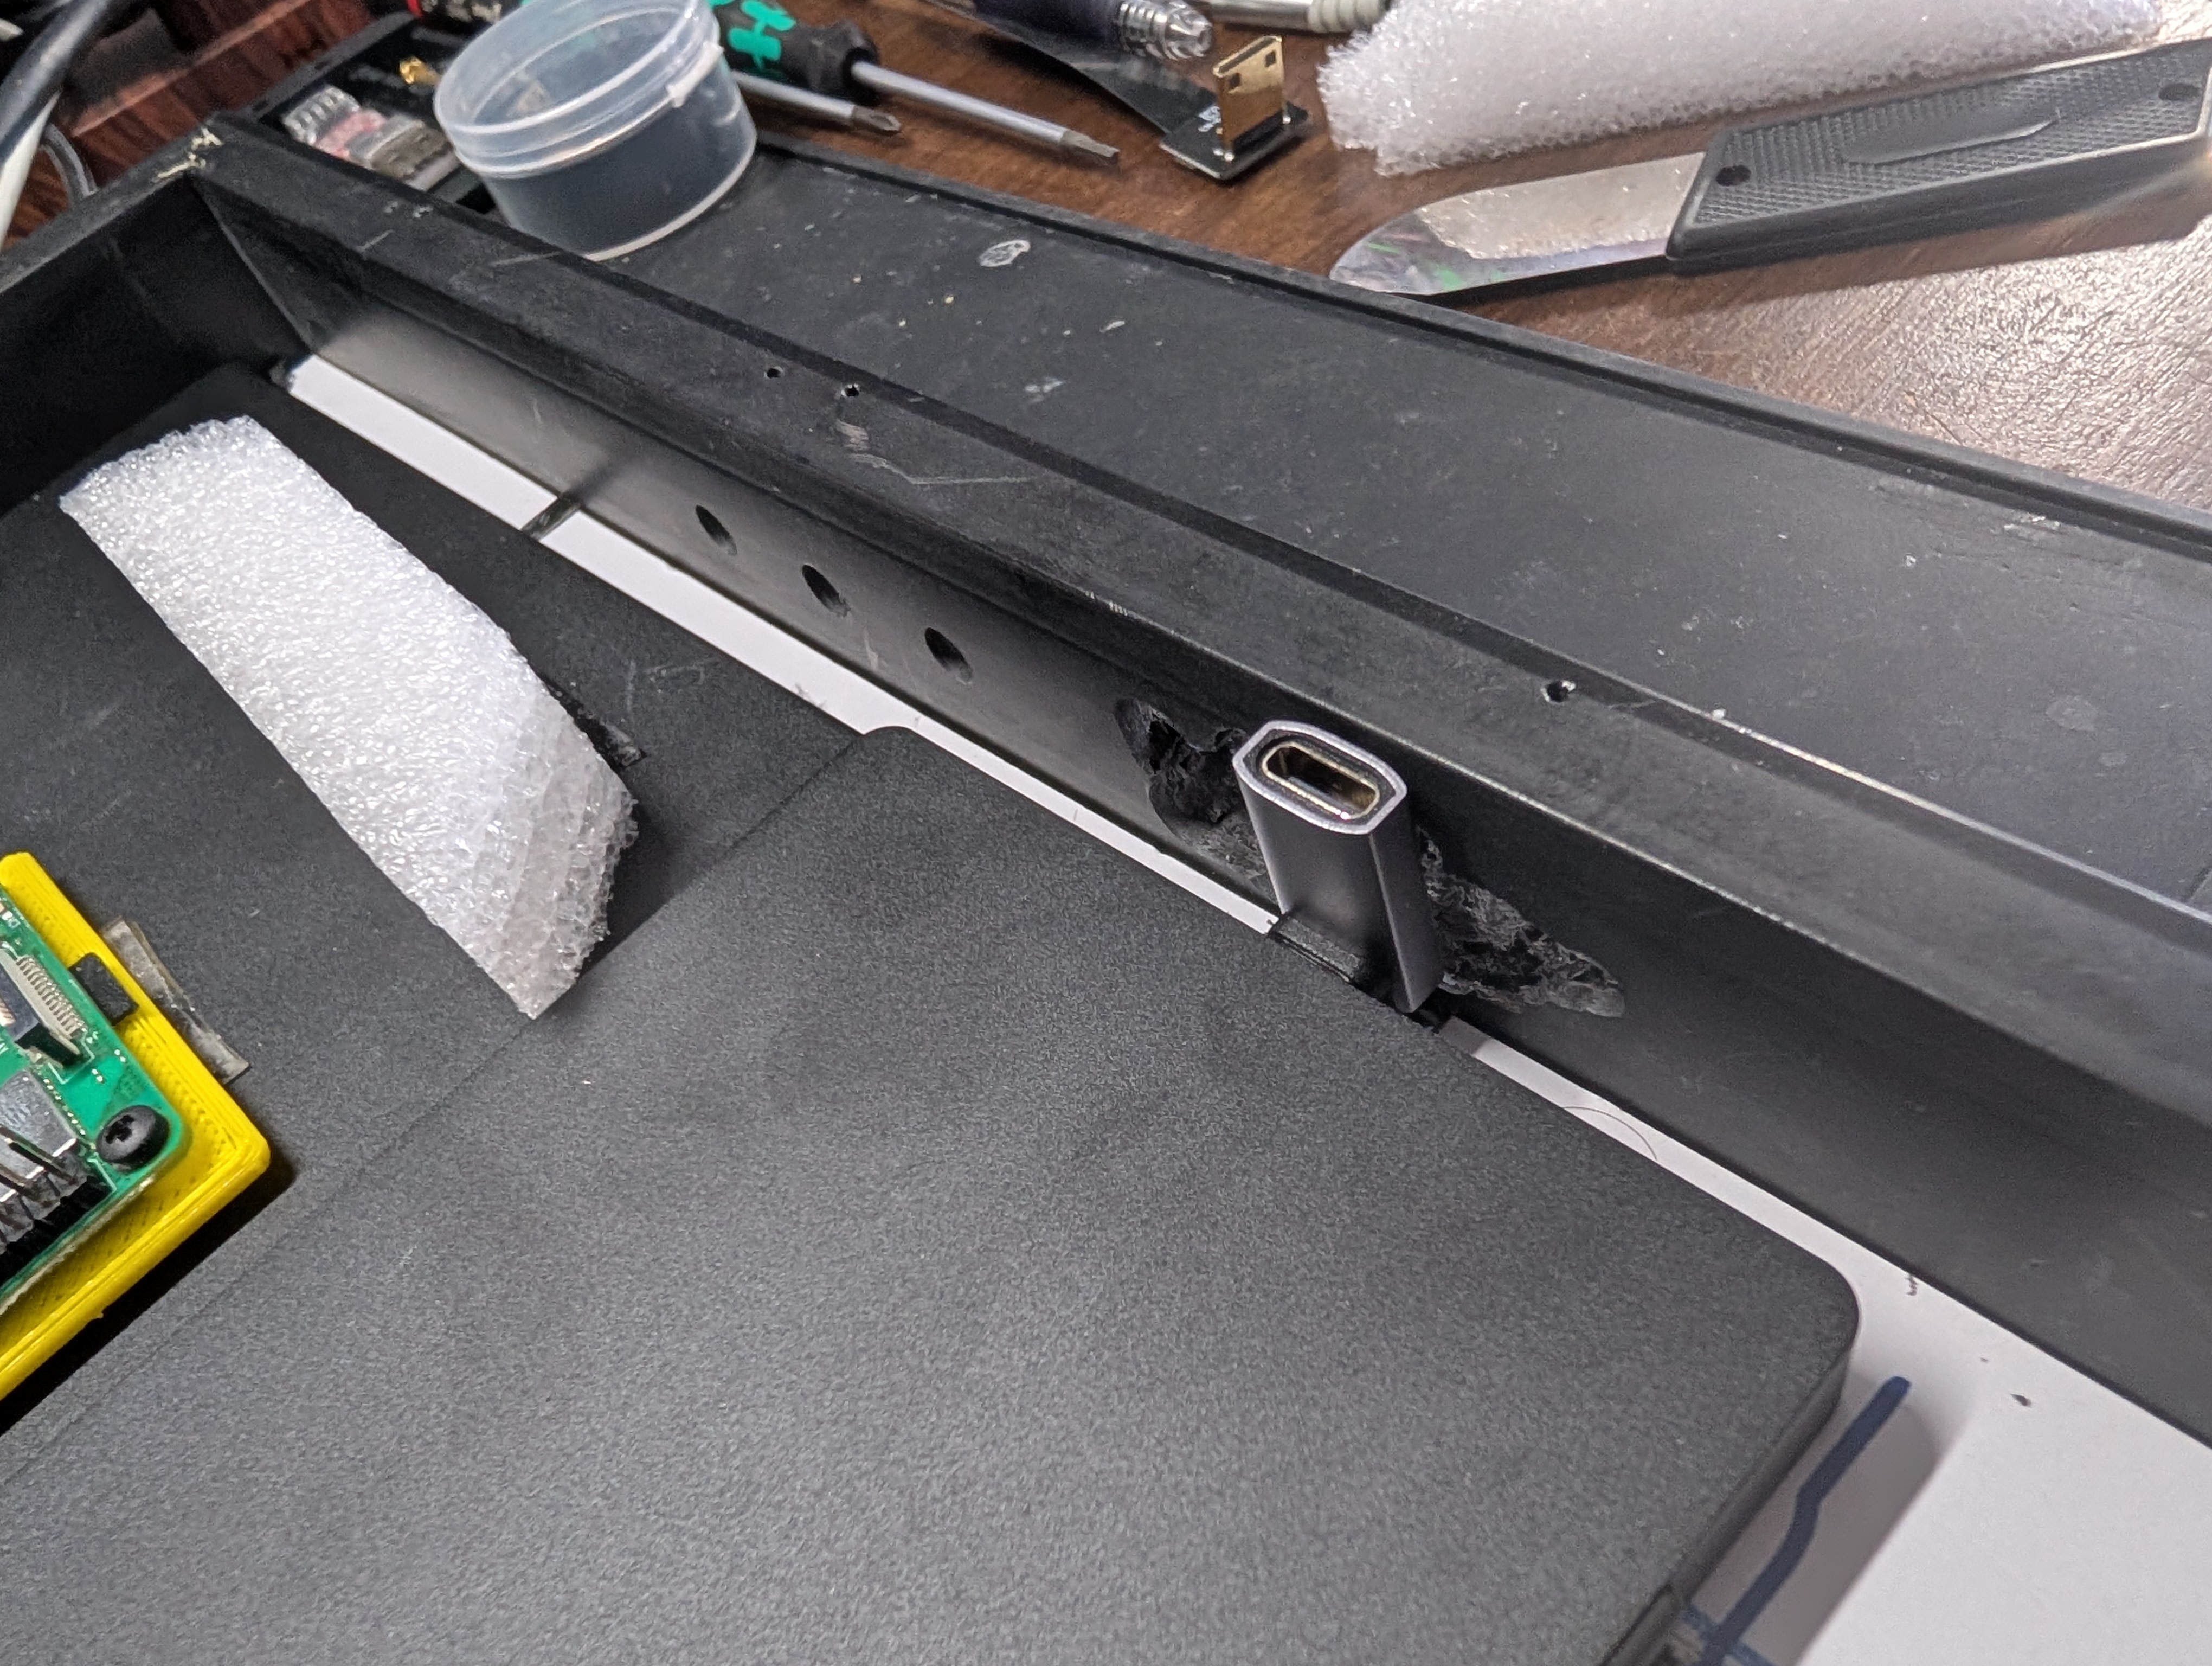
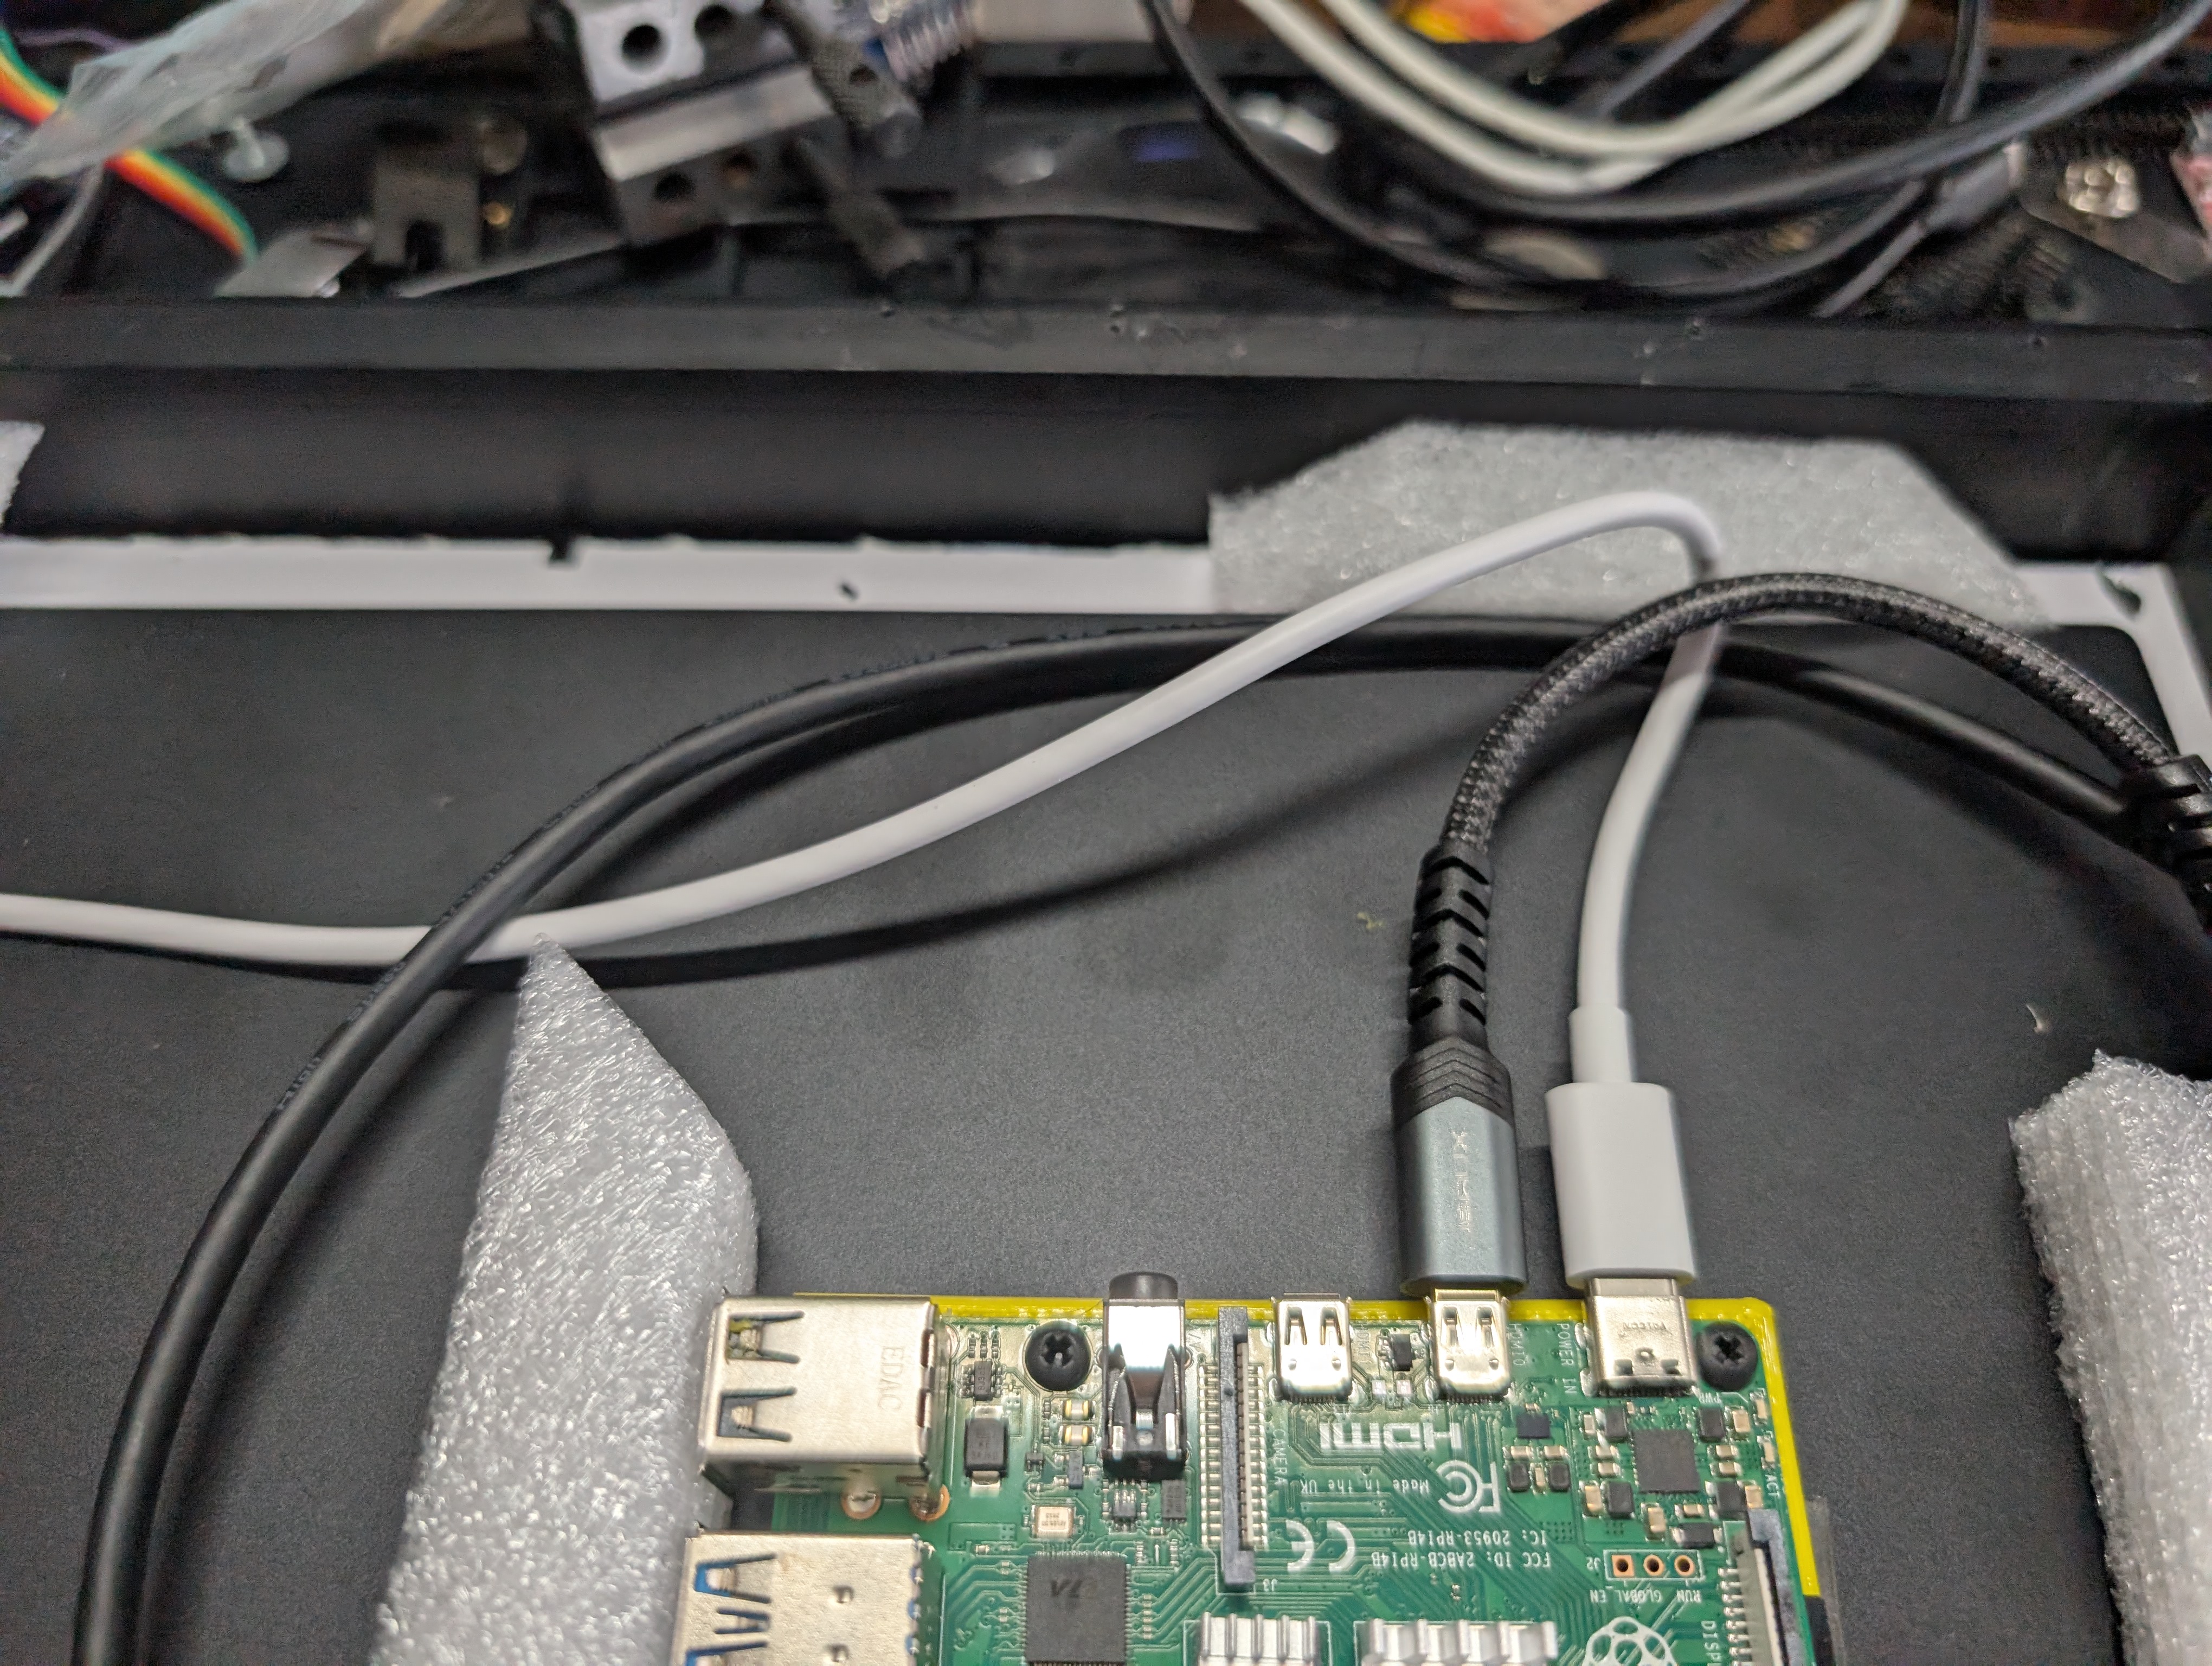
Soo... was hoping to use these right angle usb connectors to keep all the cables inside but that didn't go as planned.
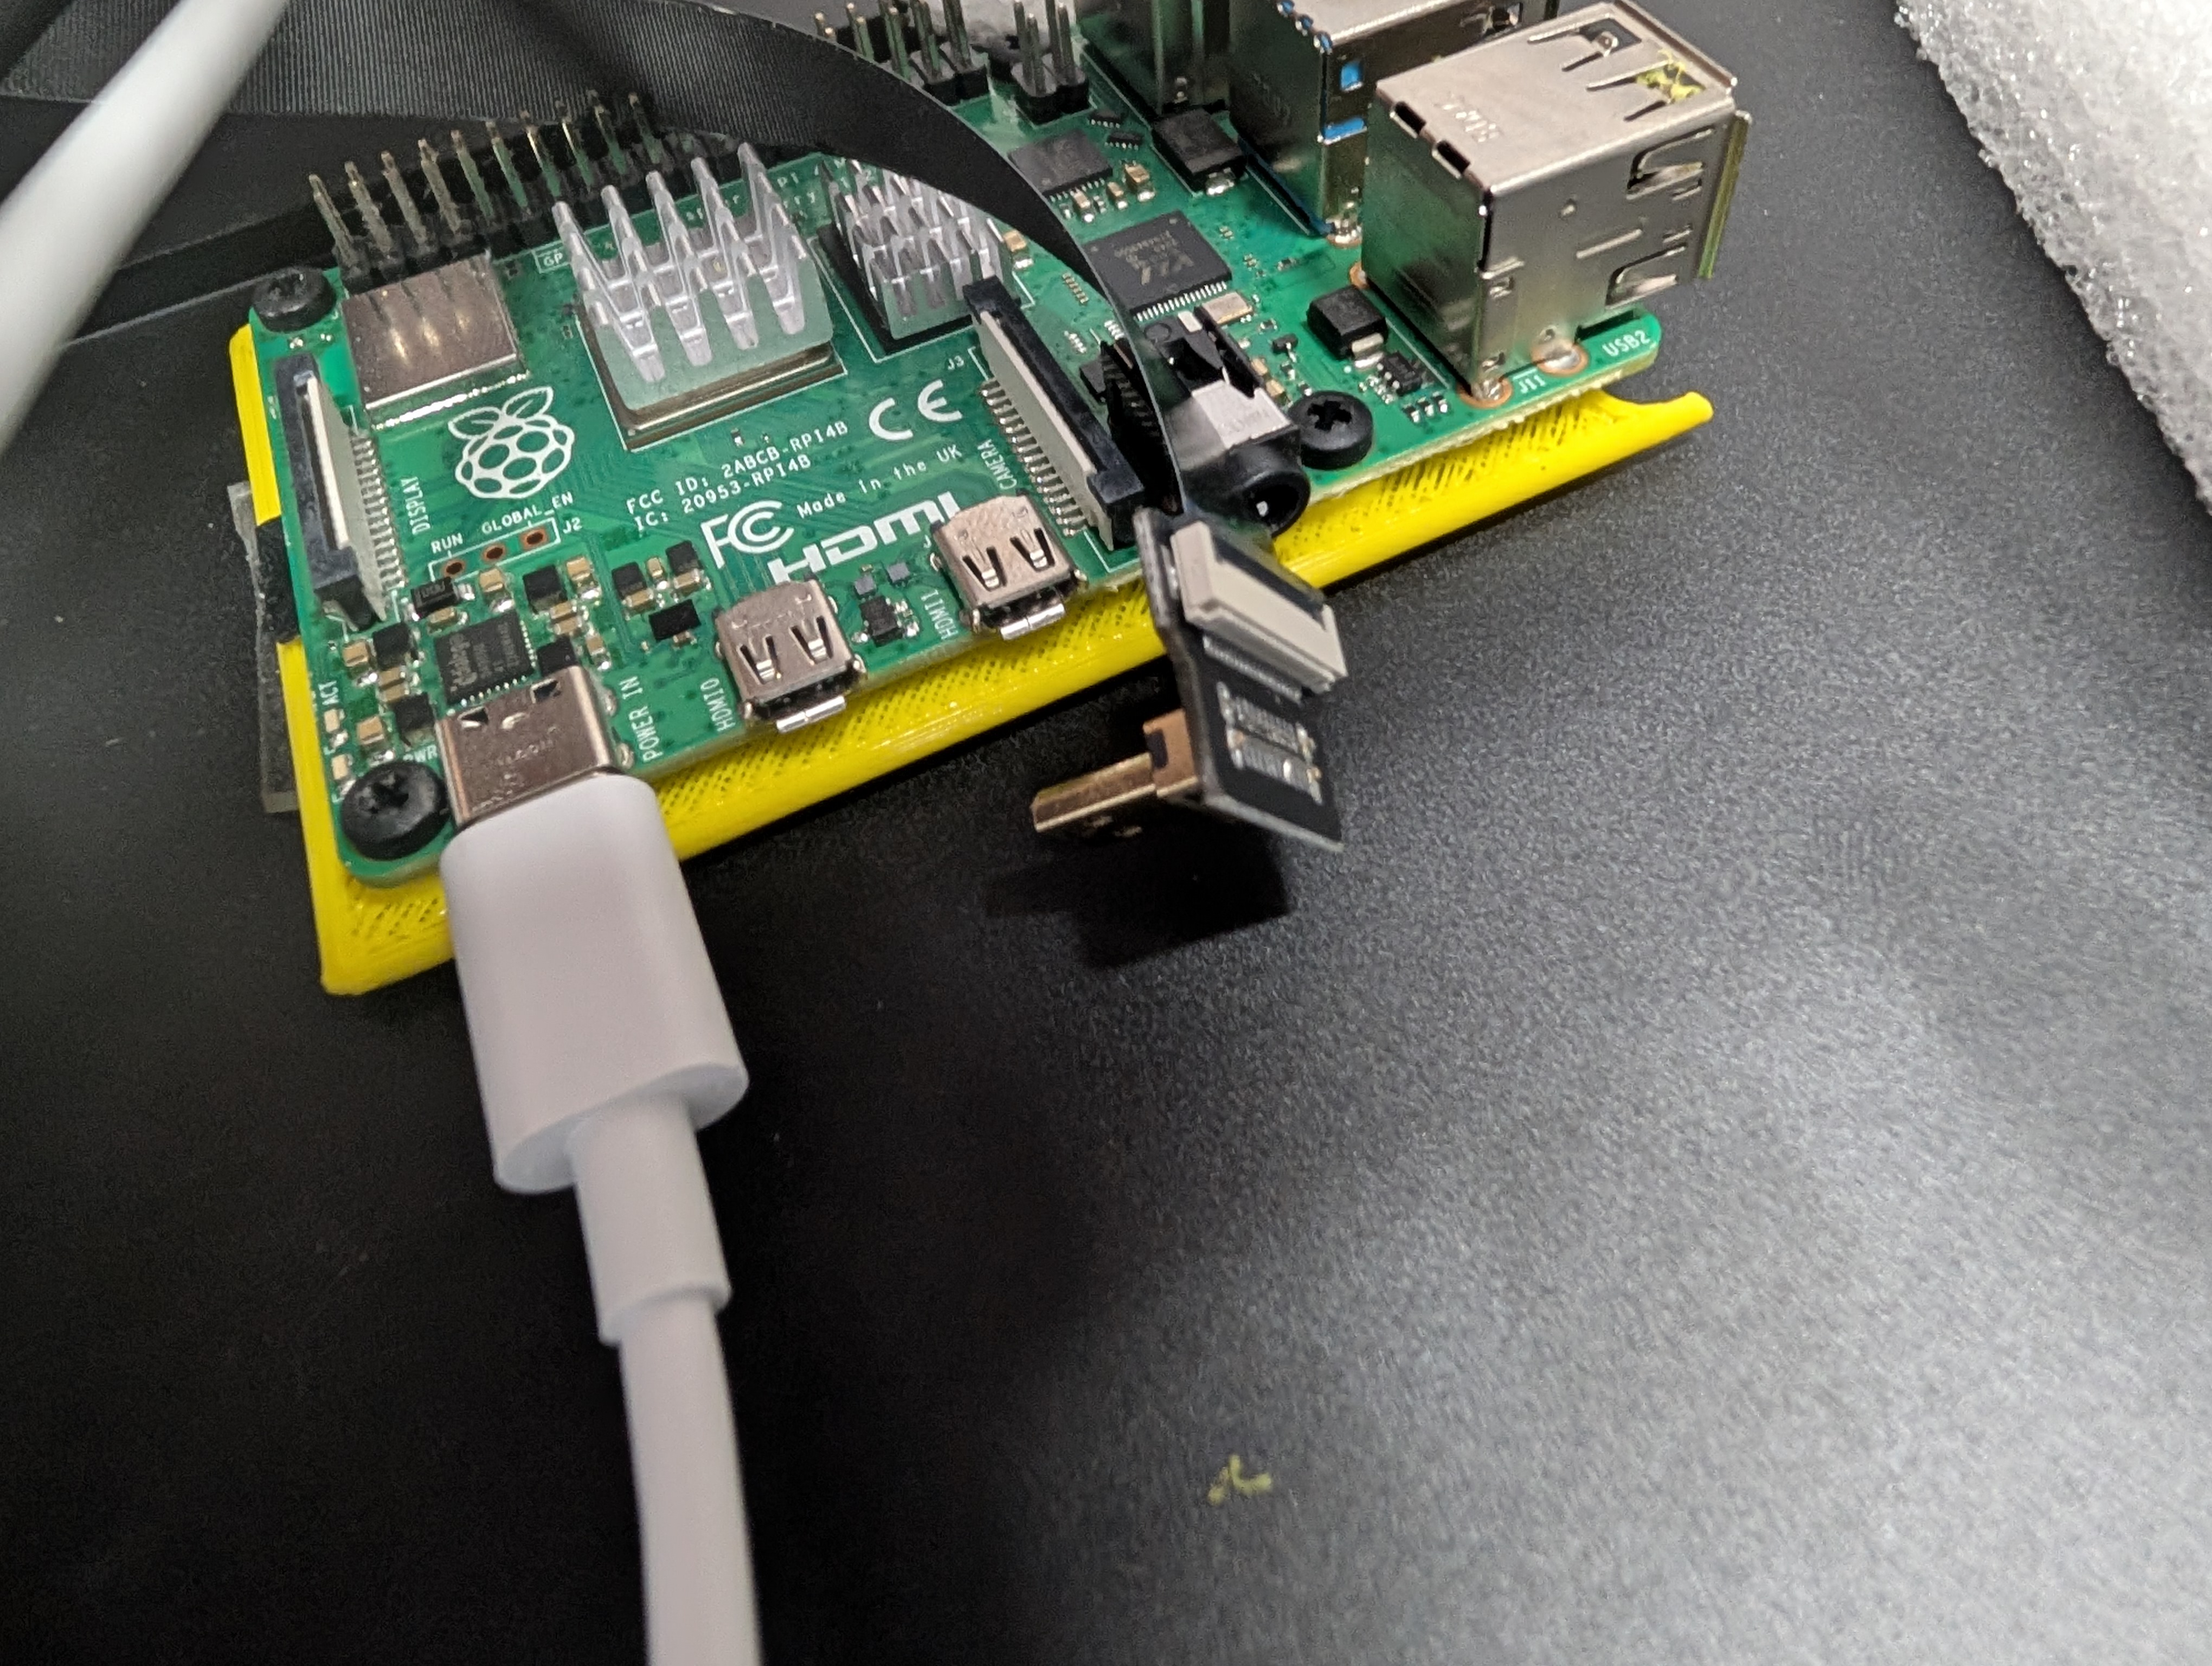
Did not realize the micro hdmi was in the opposite orientation as on the RPI4... whoops.
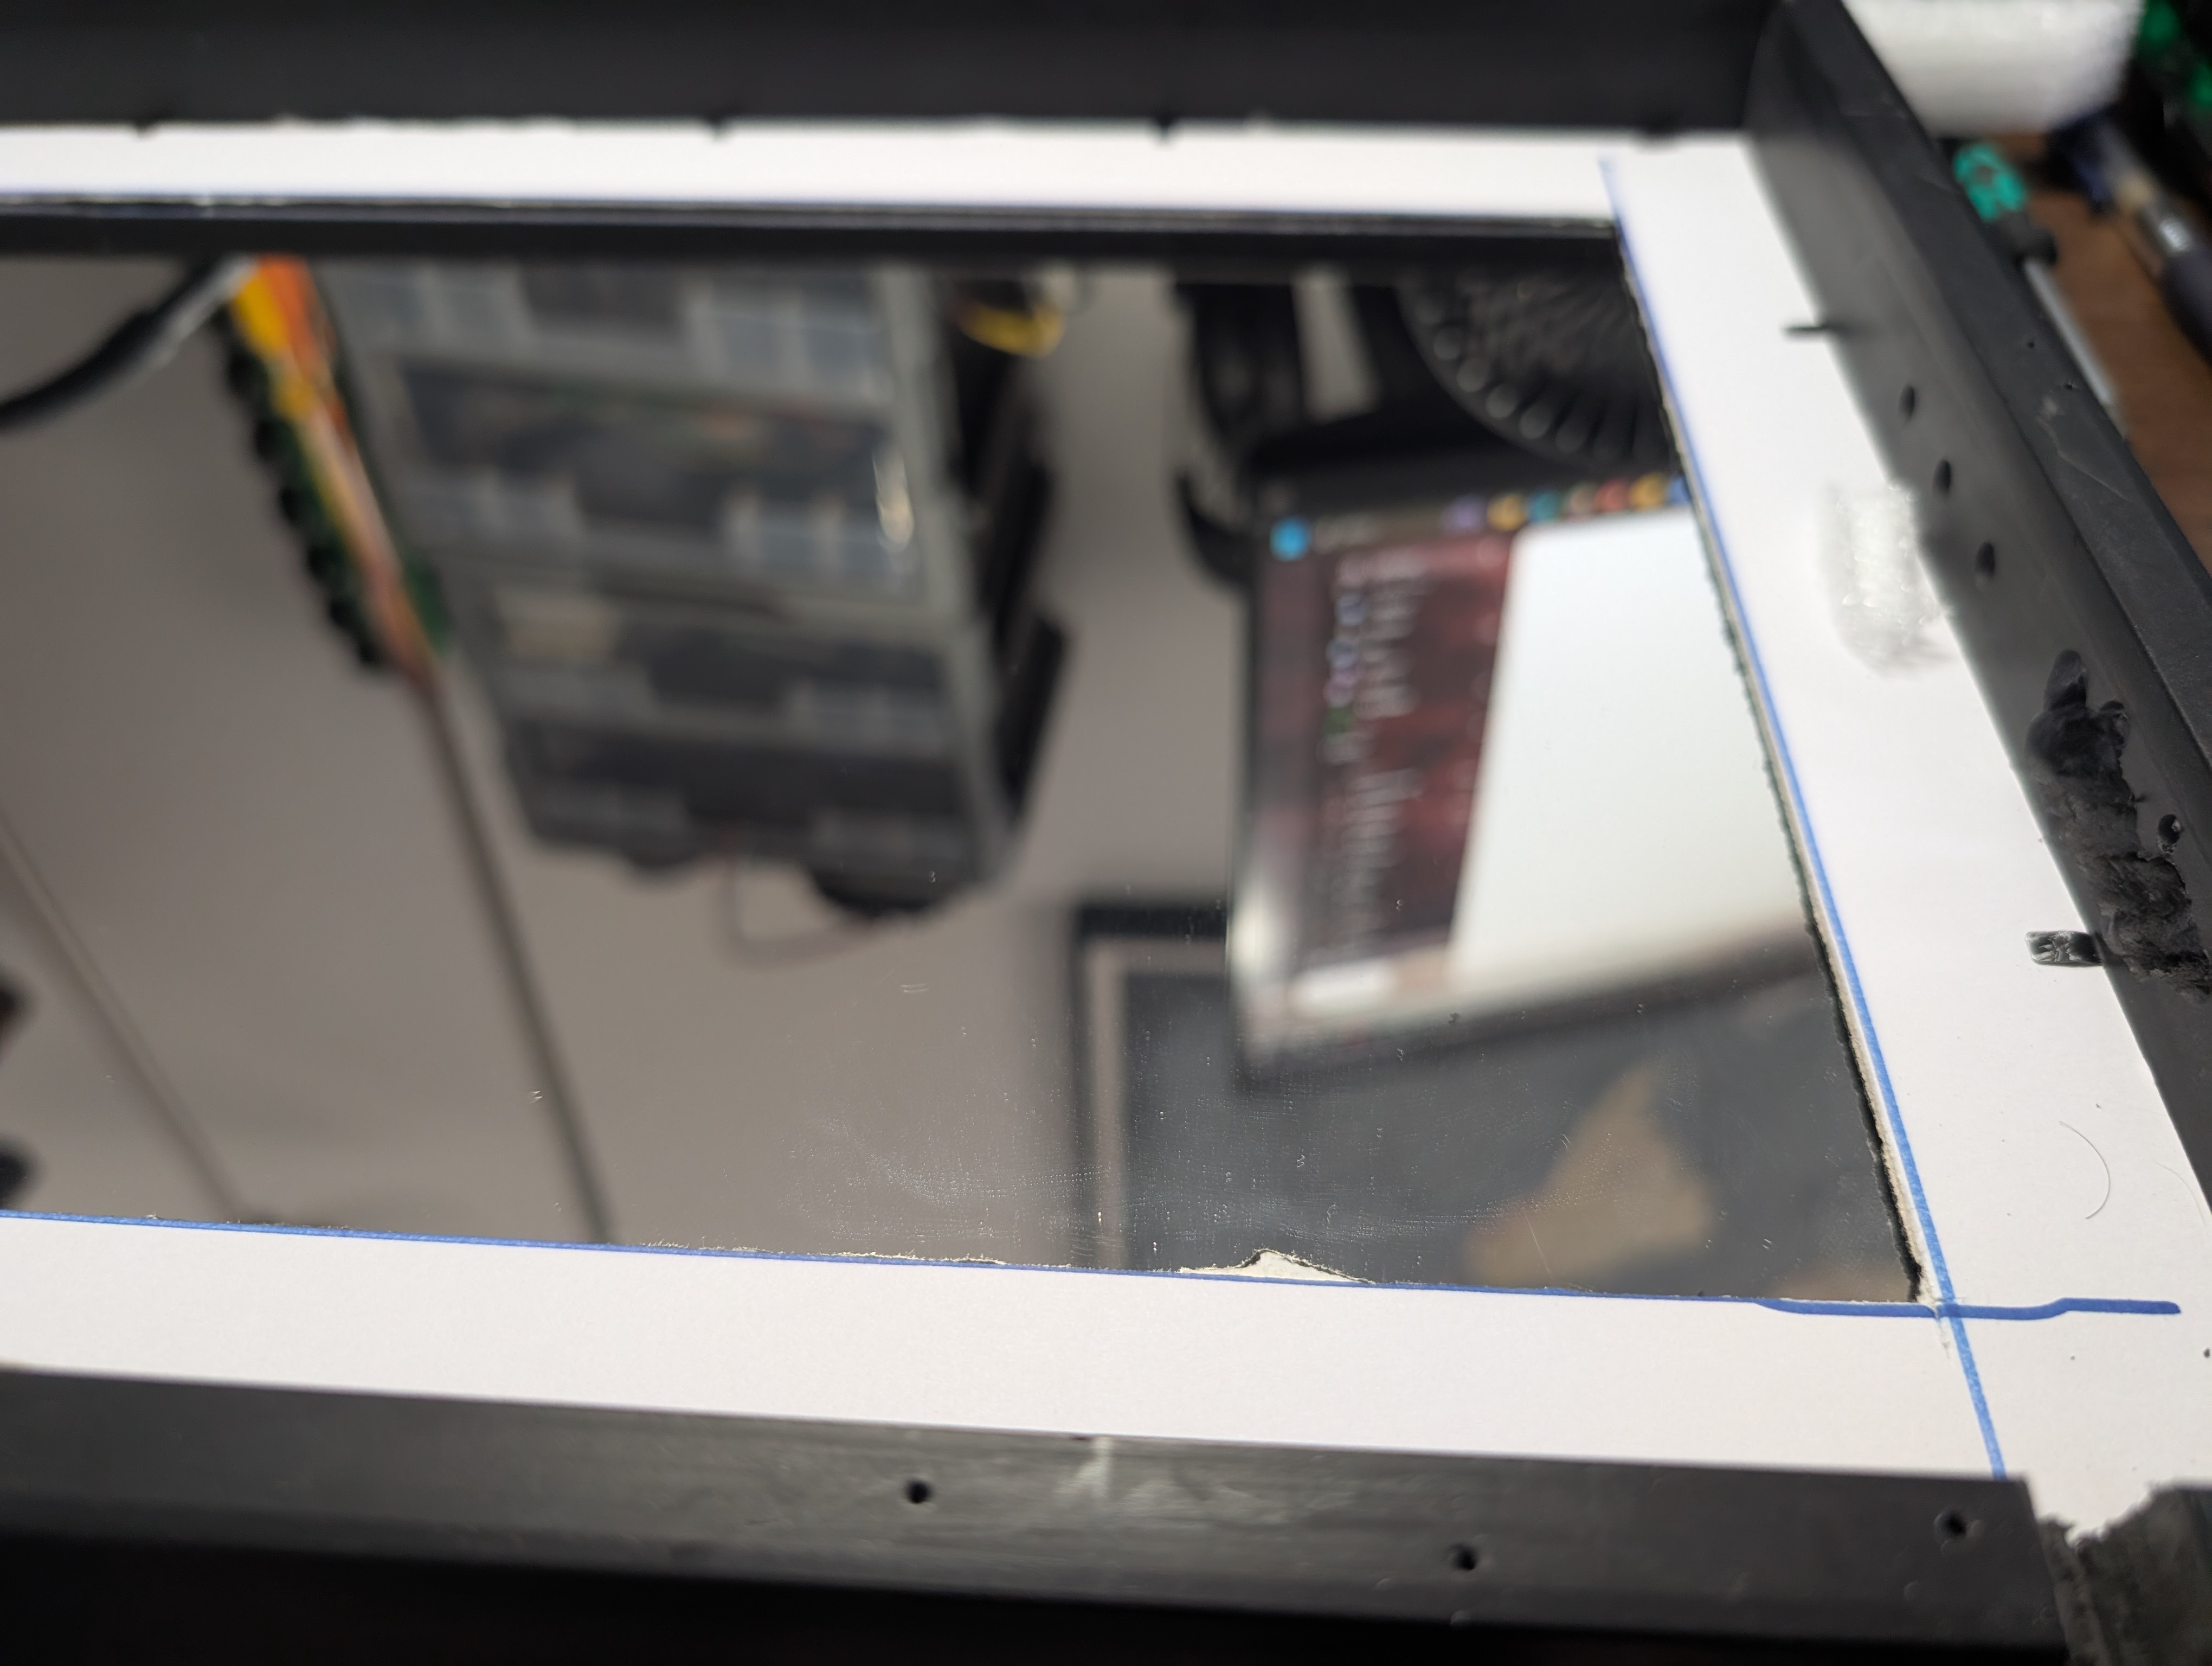
Mirror Border to fill the empty space and add support for the 2 way mirror.
I put these white packing material around the monitor to help center it in the frame.
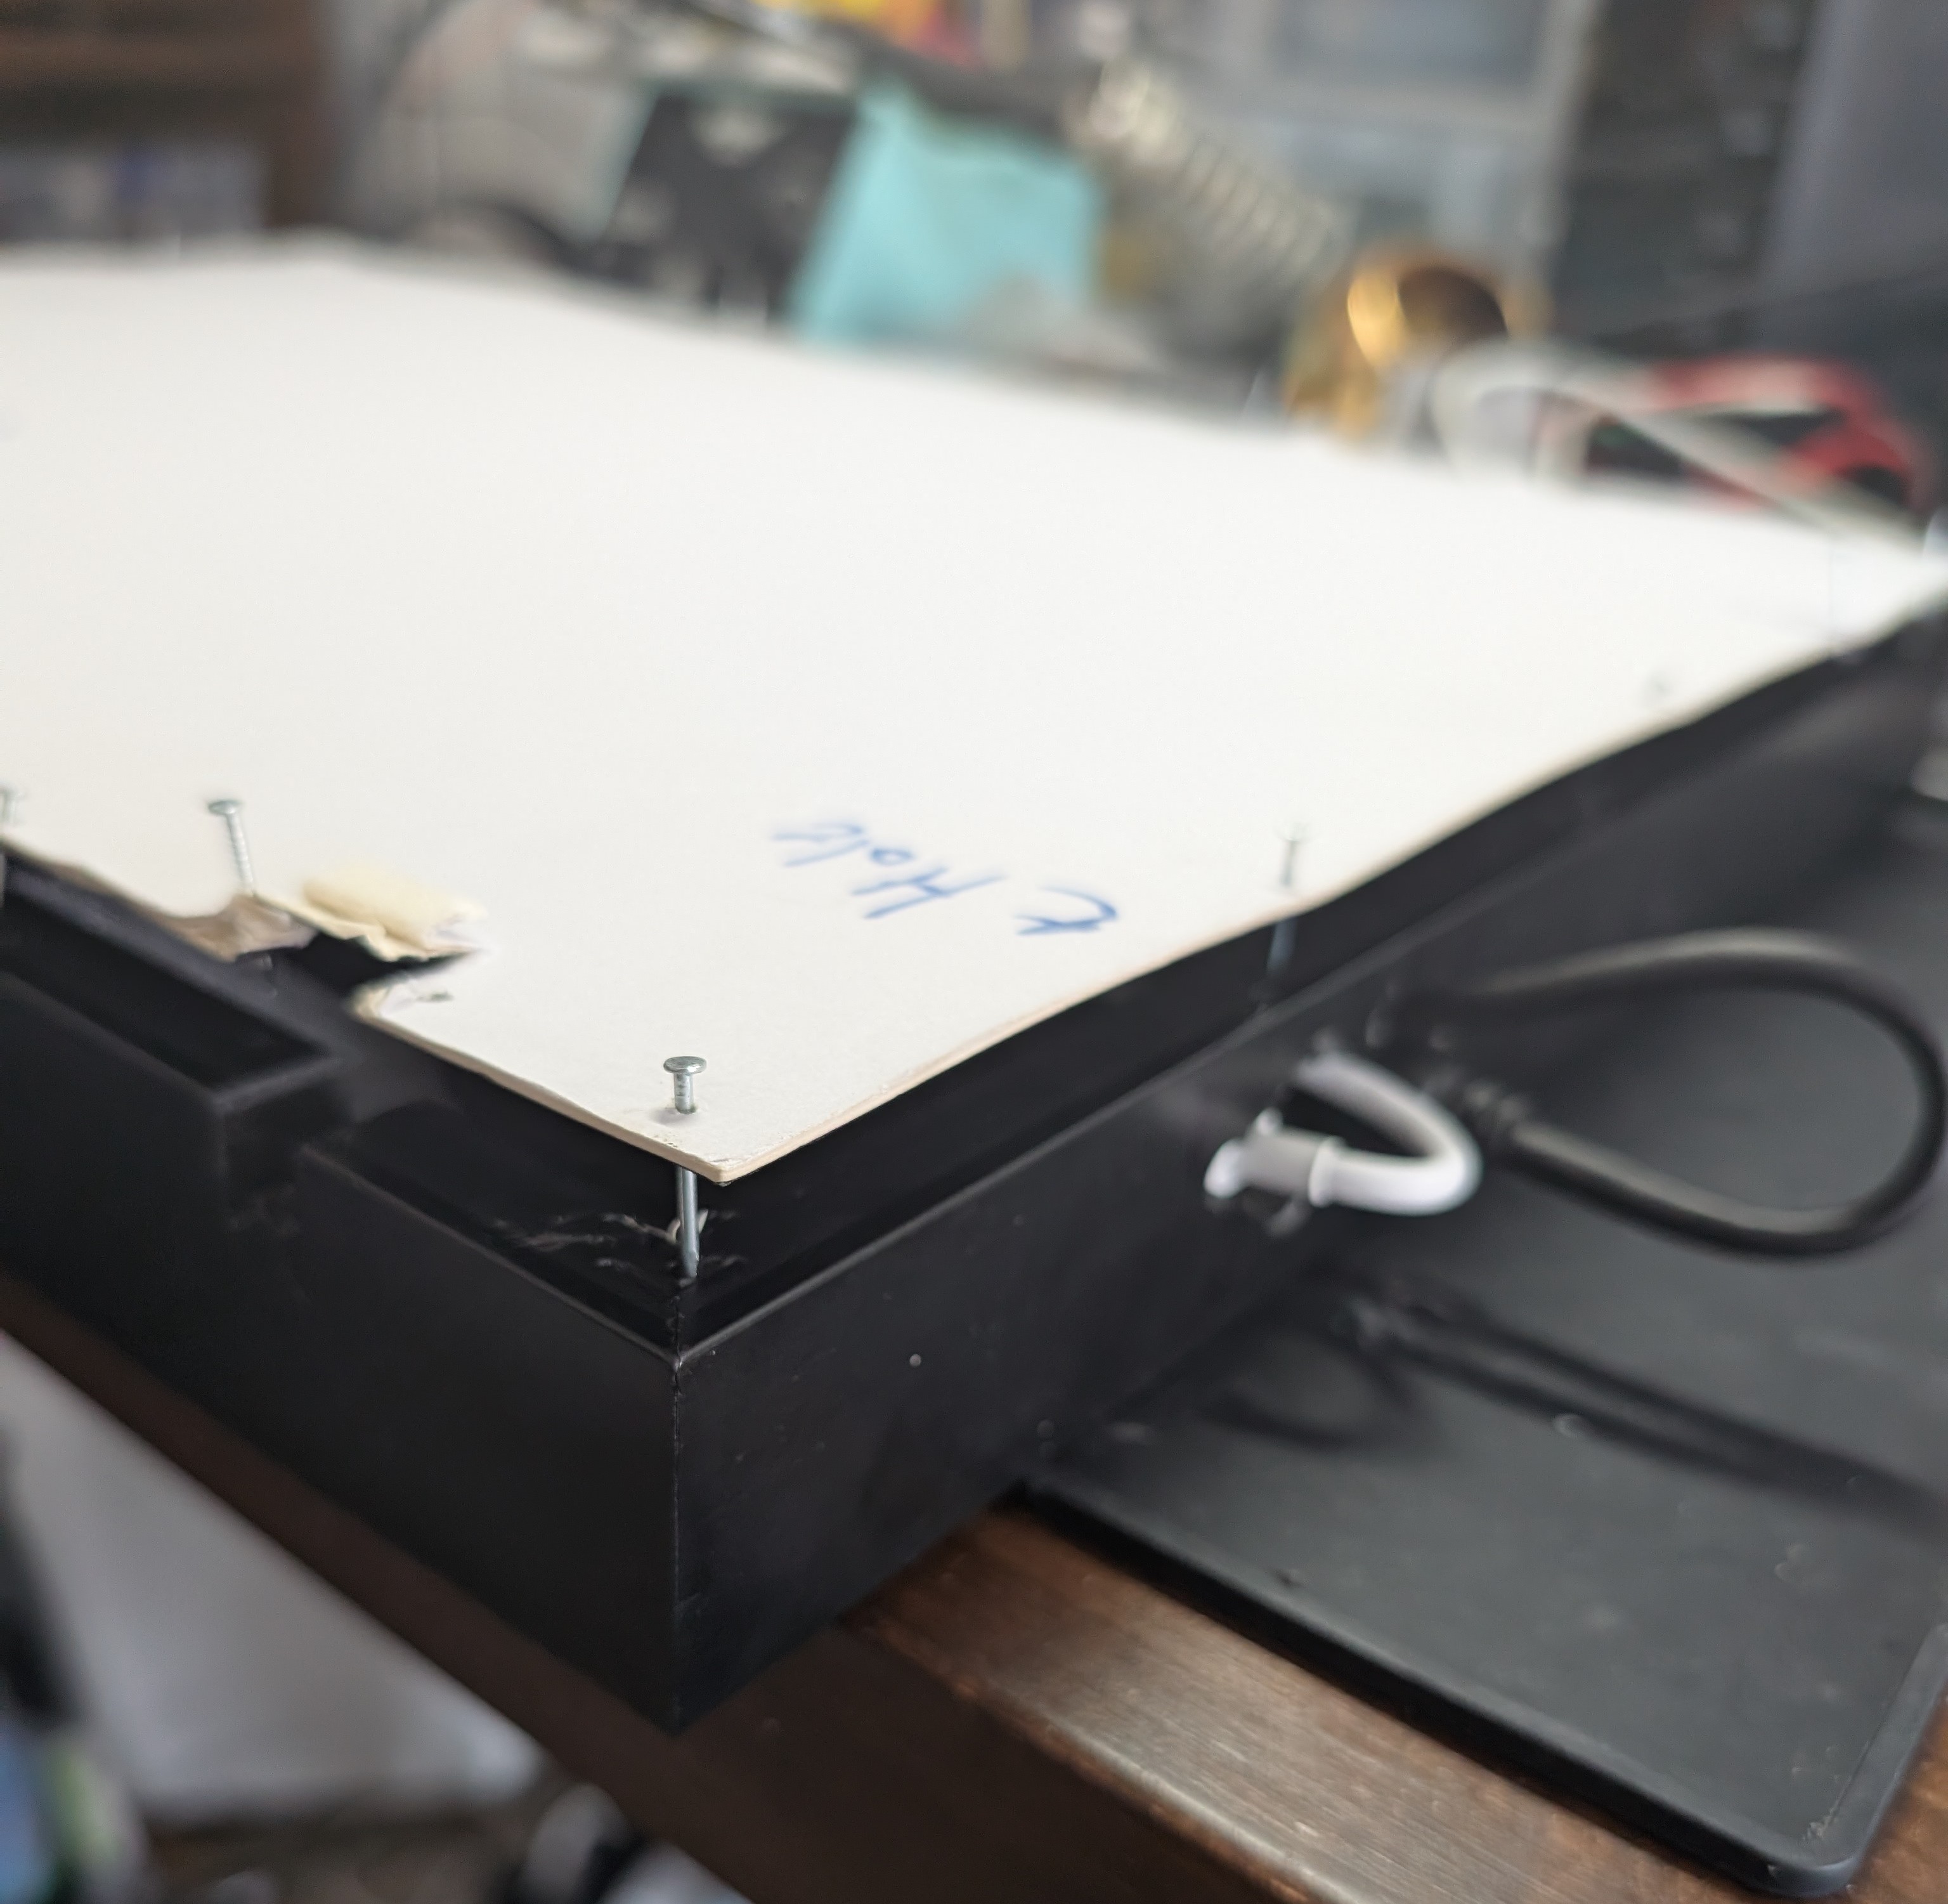
Sealing the whole thing up with nails. I wish I had a better way but oh well! It works ¯\_(ツ)_/¯
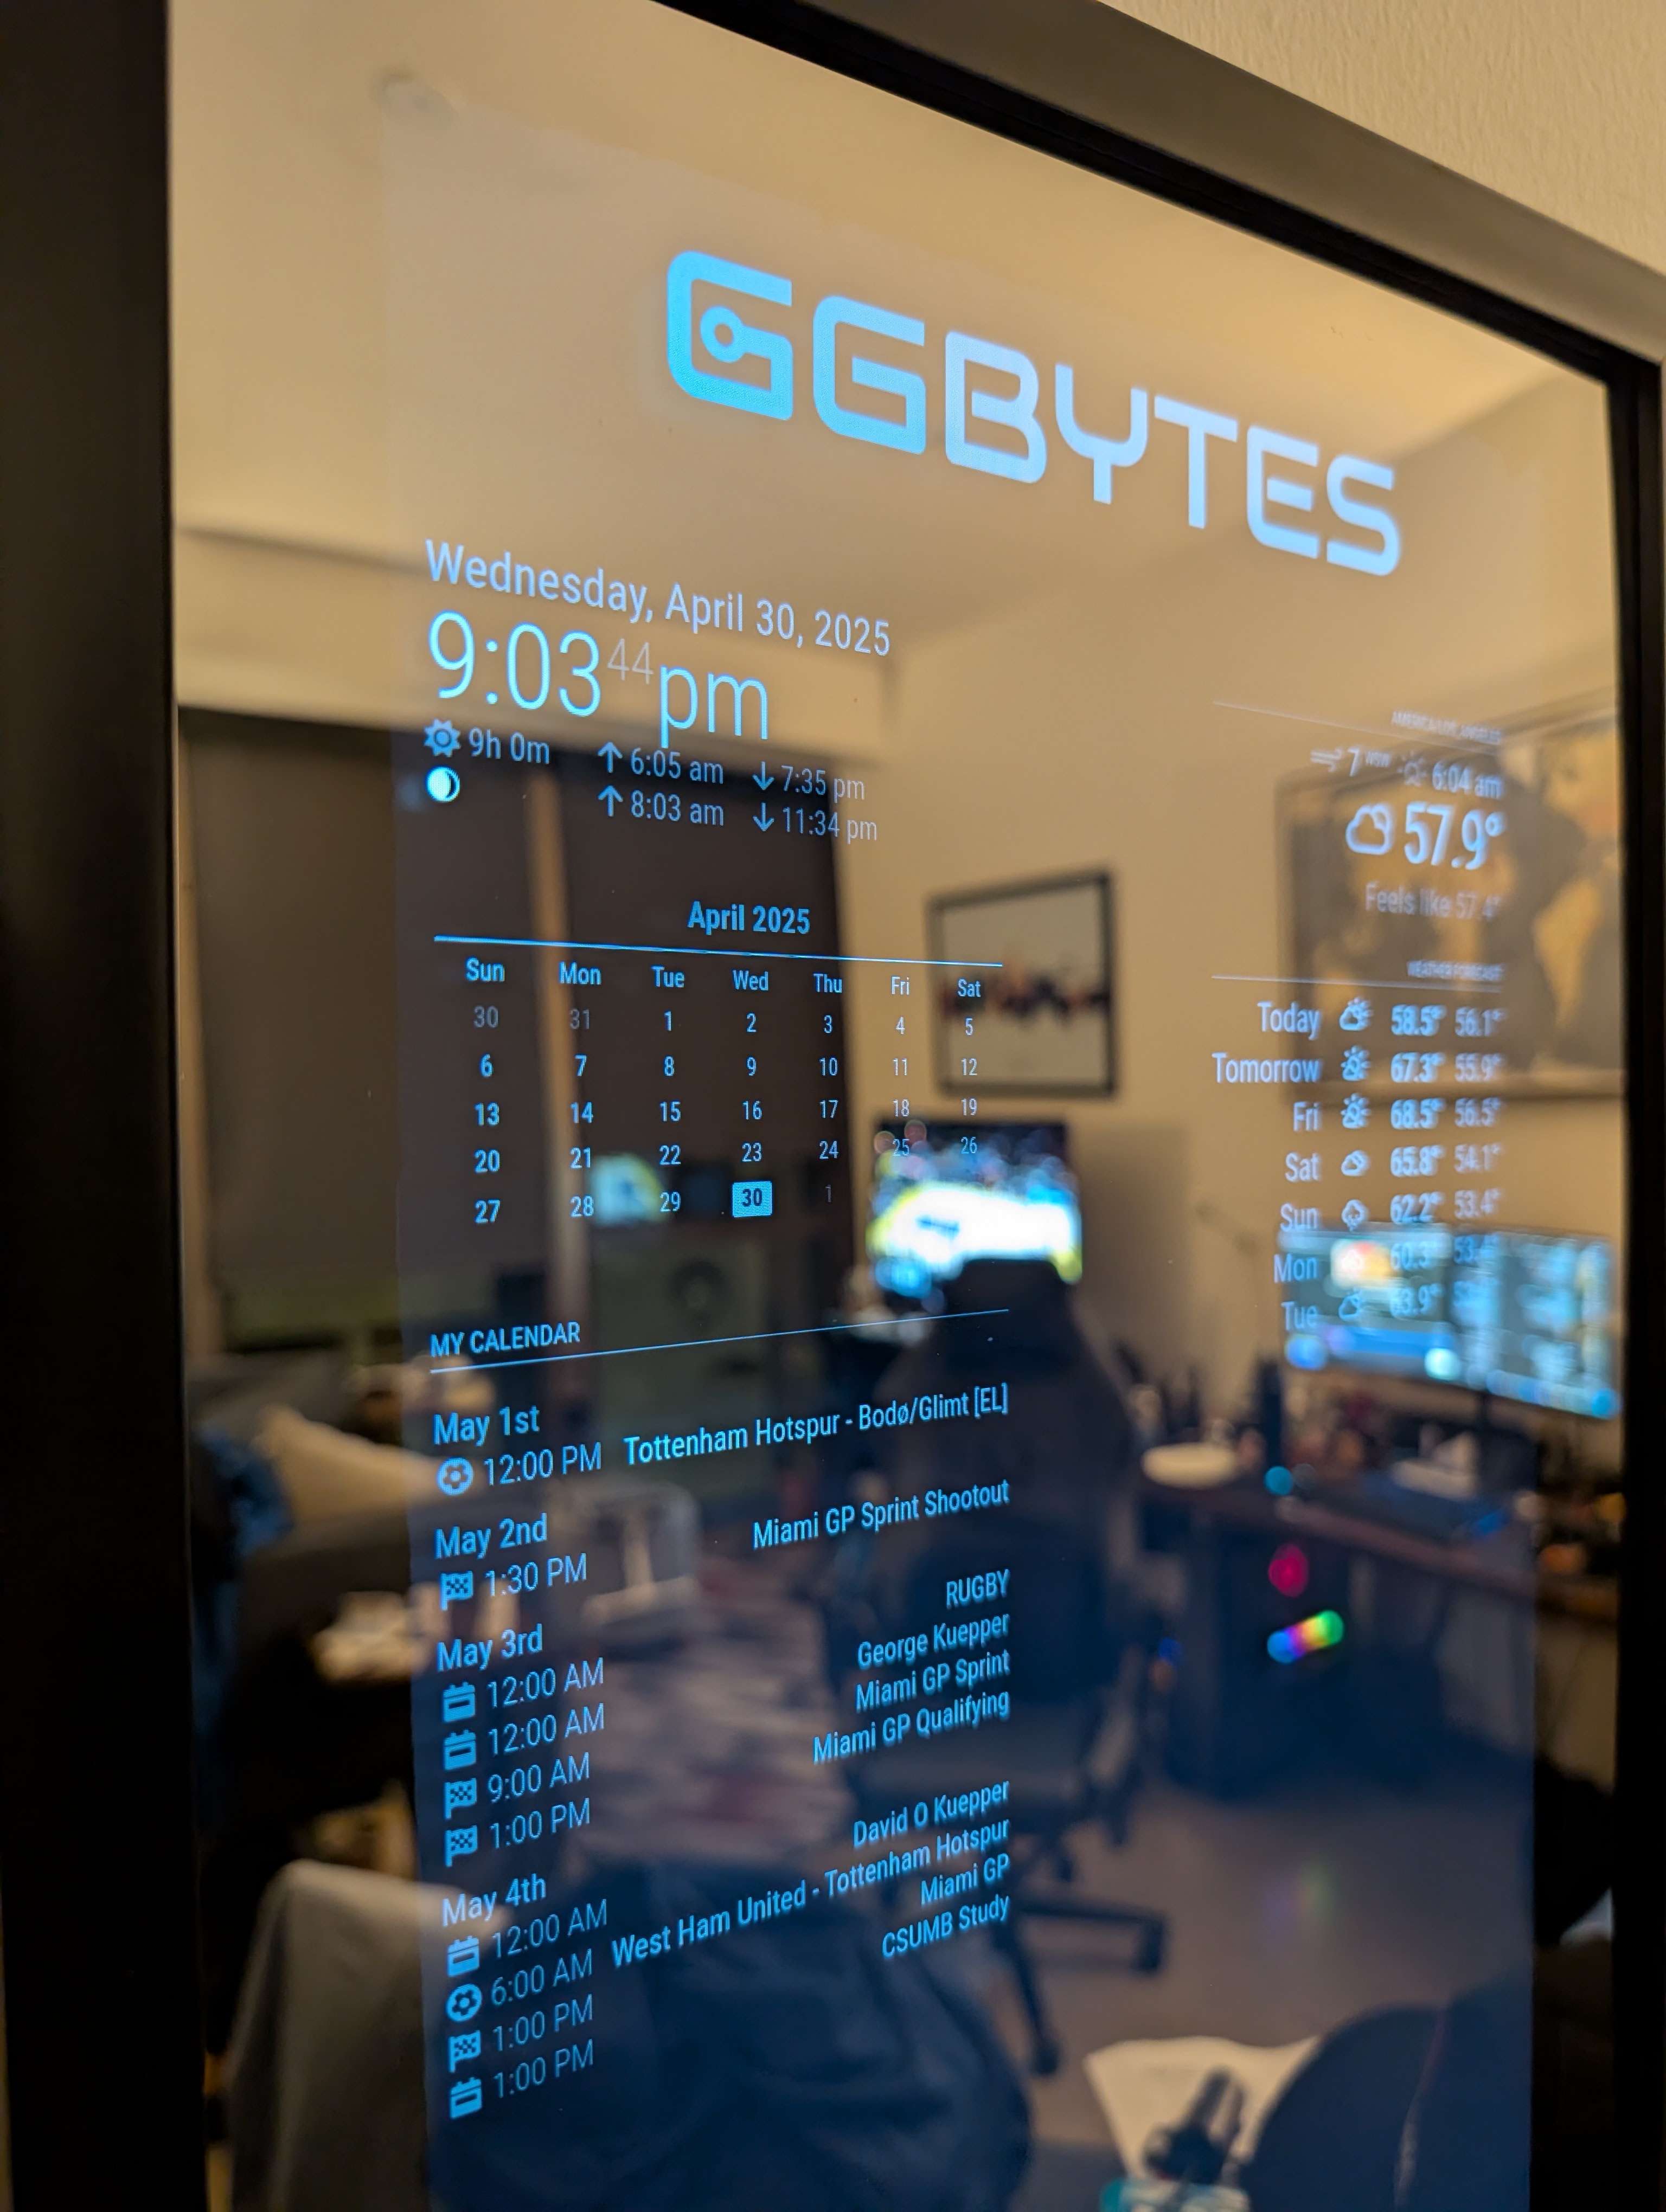
Still came out clean! :)
Key Takeaways
- This was a fun project that uses a Raspberry PI to create a functional smart mirror that I use daily.
- Using a modern Portable Monitor, I think is the way to go, since it’s already low-voltage and excellent viewing angle compared to older screens.
- Using actual glass would have been better, since the acrylic has a slight clown mirror effect, but that would have been much more expensive.